


Software to transform photos
GIMP
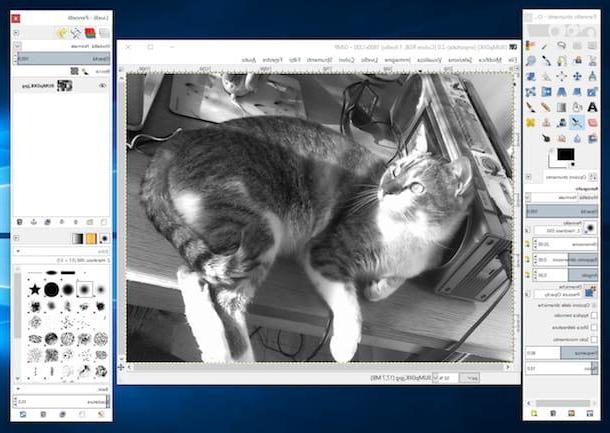
Let's start this guide on how to transform photos from GIMP. Haven't you ever heard of it? Strange, it's very famous! In any case, don't worry, we'll fix it right away. It is a free and open source software that is very close to the equally famous Photoshop (if you remember well, I told you about it in my guide on how to download Photoshop) and for this reason it is often identified as the best no-cost alternative to famous photo editing program made available by Adobe. GIMP can be used on Windows, on macOS and also on Linux and offers numerous advanced and non-advanced tools to transform photos that are very useful for the most diverse needs.
To transform photos with GIMP, download, install and start the software on your computer then select the item Apri ... from the menu Fillet and choose the photo on which you intend to go to act. Once the image is open, use the instrument panel placed on the right and that of levels on the left to begin making changes.
For more details, read my guide on how to use GIMP through which I have provided you with an extremely detailed explanation of how this program works.
Paint.NET
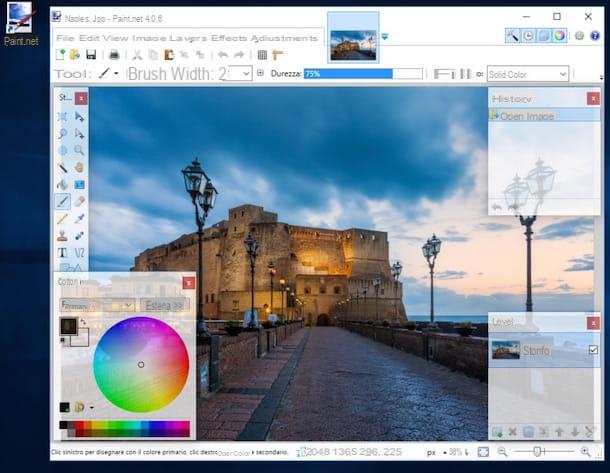
If GIMP seems a bit too advanced for your needs, you could try transforming photos by moving towards more "light" solutions such as Paint.NET. As easily understood by the name itself, Paint.NET, is a kind of Enhanced Paint, it works exclusively on Windows systems and has a user interface completely in cittàn and that is halfway between that of the classic Paint and that of more advanced programs such as GIMP or Photoshop. Thanks to Paint.NET you can improve your photos by adjusting brightness, colors, contrast and other important parameters, you can work on image layers, create photomontages, apply filters and so on and so forth.
To start transforming photos with Paint.NET, download, install and start the program, click on the item Fillet located at the top right, select New… and choose the photo on which to go to intervene. Once the image is open you can edit it using the bar Instruments located on the left, selecting the desired colors from the window Colors and choosing the levels on which to operate using the window Layers. Through the window Chronology you can instead view all the operations that have been carried out recently.
If you need more explanations, take a look at my tutorials on how to correct red eyes, how to straighten a photo or how to square an image in which I told you, precisely, about Paint.NET.
Pixelmator
Are you using a Mac and are you still looking for a software that allows you to transform photos? Then I can't help but suggest you try Pixelmator. This is a well-known application for photo editing on macOS which is extremely powerful and sufficiently versatile but which at the same time is also very simple to use. Try it immediately and you will see that you will not regret it!
Pixelmator, but I'll tell you right now, it is paid: it costs 29,99 euros on the Mac App Store (however, occasionally it is possible to find the app at a discounted price). Fortunately, there is also a free trial version of the software that can be used without limitations for a maximum period of 30 days.
To start transforming photos with Pixelmator, download (and eventually buy), install and start the program, select the image on which you intend to go to act through the window that is shown on the screen or by first clicking on the item archive attached to the menu bar and then on Apri ... and edit the shot as you like using the tools and resources available.
The Pixelmator workspace is divided into three parts: on the left there is the bar with the most important photo editing tools (brushes, palette, selection and so on), in the center you find the photo to be edited while on the right there are panels for managing levels and applying filters. When finished, click on the item archive in the menu bar and select the option Save ... or Export ... based on what your needs are.
App to transform photos
Prisma
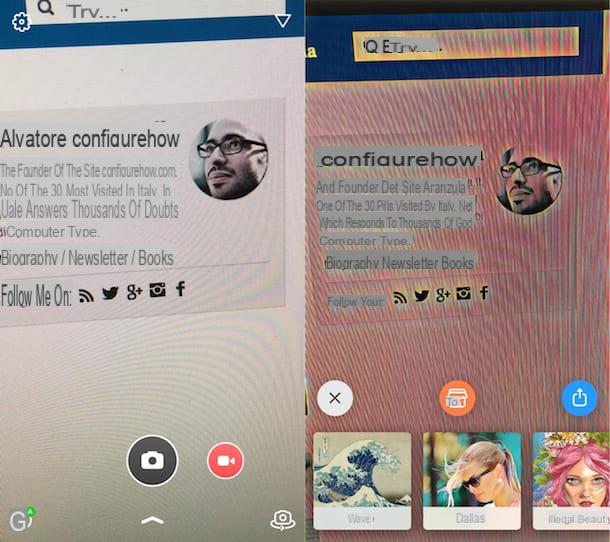
Are you looking for some solution that allows you to transform photos directly from your mobile? Then take a look at immediately Prisma which is free and available for Android, for iOS and for Windows Phone. It is one of the most famous apps of the category currently present on the square. Prisma allows you to select filters that, in addition to being numerous and very beautiful to look at, are applied in an extremely precise way to the photos, so as to make them appear as real works of art that seem to be the result of hours and hours of accurate Work.
The operation of Prisma is very intuitive. Once the app has been downloaded, installed and started, just choose whether to take a photo in real time or whether to use an image already present on the smartphone (by pressing the arrow located below). Then you have to select one of the many filters available simply by pressing on it. The final result can be shared online or saved on your smartphone by selecting the appropriate icons that appear at the top right. If desired, by swiping left or right on the image obtained, you can increase or decrease the visibility of the filter on the photo.
After obtaining the desired final result, you can save the edited image by tapping the button for the download for free located at the bottom right and choosing one of the saving options available in the section Other options.
Autodesk Pixlr

Another app that I suggest you consider to transform photos is Autodesk Pixlr. It is an excellent free solution available for Android, iOS and Windows Phone that includes everything you need to edit images directly from mobile: Instagram-style filters to embellish the shots, tools to crop, rotate and correct the most common errors present in the digital photos (including red eyes), brushes for drawing on photos, frames etc.
Using Autodesk Pixlr is really very simple. After having downloaded, installed and started it and after having selected or taken a photo, you will find yourself in front of an editor with a series of icons placed at the bottom of the screen: i two circles give access to image editing tools (crop, rotate, correct etc.), the brush allows you to call up the tool to draw on the photo, clarify / darken the subjects or "pixelate" the areas to be censored, the icon of two sheets gives you access to the Instagram-style filters and overlay effects available in the app while the icons of the cornice and letters "Tt" instead they allow you to add frames and text to your image.
Once the changes are complete, you can save the final result obtained by simply tapping the button done located at the top right and choosing the options to save the photo to your phone or share it online.
PhotoFunia
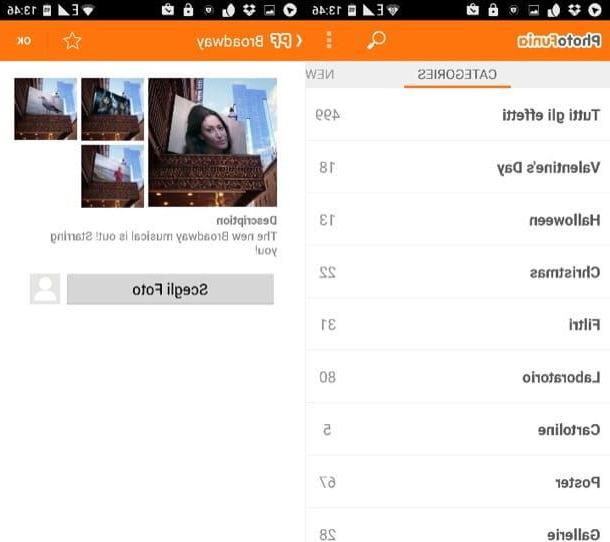
Are you looking for an app to transform photos that allows you to create cute photomontages? Then try now PhotoFunia, a free application for iOS and Android dedicated entirely to photomontages with scenarios of all kinds, famous people to impersonate and many other nice effects. The only flaw, if we want to define it that way, is that it needs an Internet connection that is always active to work.
To start creating a photomontage with PhotoFunia, download, install and start the app, then select one of the categories available in the section Categories of the latter: Postcards to make postcards, Poster to insert your photos into preset scenarios, Faces o Celebrity to add your face (or that of your friends) to the body of famous people, Magazines to turn your images into the covers of famous magazines and so on.
Then select the type of scenario in which you want to insert your photos, stop on the button Choose photos and choose whether to import a photo from the smartphone roll, from social media or to take a shot in real time. Then, move / resize the selected image, press the button OK and wait for the photomontage to be created. Finally, press the icon of floppy disk located at the top right to save the photo on your phone or select the icon of sharing to share it online.
Online services to transform photos
Polarr
Don't you want to download software or apps and would you rather transform photos by contacting special online services? No problem. Trial Polarr and you will see that you will not be disappointed. This is a free online photo editing service (only some functions are reserved for those who subscribe to a Pro plan) that works on all the latest browsers without the need for third-party plugins (eg Flash Player) and entirely dedicated to the application of filters and the relationship of parameters such as color, brightness, etc. thanks to which it is possible to obtain results of an artistic level.
To use it, connect to its home page and click on the button I will start. You will be offered a quick tutorial that will show you all the main features of the service (to skip it, click on the button Salta which appears above).
After selecting the photo to edit by clicking on the button in the shape of arrow located in the upper left, use the icons located on the left and right of the screen to perform the desired editing activities. If you want to apply filters, click on the icon with the three dots which is located in the left sidebar while if you want to change the colors, perspective or size of the image use the icons located in the right sidebar. To save the final result, click on the icon arrow which is located at the top right.
P
P instead it is a very famous service for transforming photos online which allows you to apply filters and effects of various types to images, corrects the most common defects and allows you to create both collages and covers for Facebook. It can be used at no cost but some filters are only available for those who subscribe to a pay plan (which, however, can be tried at no cost for a limited number of days).
To start transforming photos with PicMonkey, connected to the main page of the service, select, among those just mentioned, the type of function you want to use by clicking on the buttons above and indicate whether to upload the image from your computer, from Facebook or from another website.
Once the editor is displayed you can start transforming photos by selecting the functions of your interest from the bar located on the left with all the available functions: effects, filters, texts, frames, basic photo editing functions (rotate, crop, etc.) and more. still. When you are satisfied with the result, click on the button Save at the top and choose the format in which to save the image.
Rollip
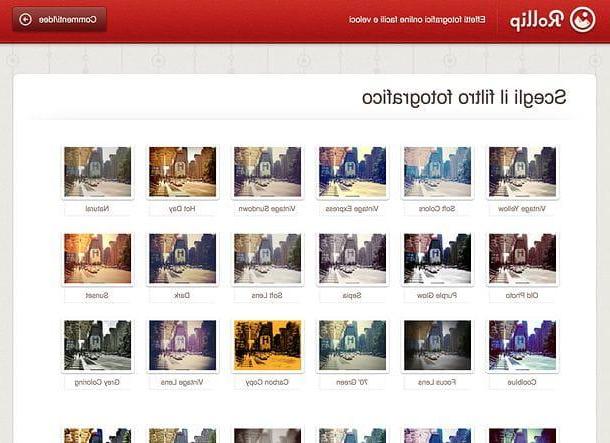
To conclude, I want to tell you about a no-frills online service that you can use to transform photos by applying Instagram-style effects to your photos. It is about Rollip. Try it now!
To use it, connect to the service's website and click on the button Click to create located in the center of the screen. On the page that opens, select the photo filter you want to apply to your image, click the button Choose file/Shop by Department and select the photo to edit. Wait a few moments and… that's it.
If you want, you can apply further changes to the chosen image using the buttons located on the right. Instead, just click on to save the photo Download this photo.
How to transform photos


