


 Comment (9)
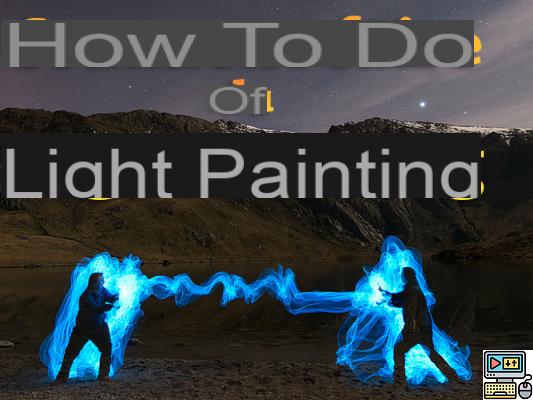
Today at the editorial office, we received a new type of lighting that looks just like the lightsabers from the famous Star Wars saga. Easily manageable, the idea came to us to make a tutorial on Light Painting in order to explain the principle and the different techniques to you, perhaps to make you go to the dark side of the force.
What is Light Painting?
Etymologically, the terms Photography and Light Painting are very close, and both literally mean "to paint with light". Light Painting is therefore more precisely a photographic shooting technique which consists in revealing the light traces of a source thanks to a relatively slow exposure time. Its use is simple since all you need is a camera, a light source, and a dark space. These three tools are the very basis of Light Painting and allow anyone with a camera to try it. There is obviously a range of possibilities and techniques intrinsic to this technique which are available to vary the pleasures and possibilities.
light painting techniques
Light Painting requires a certain time of adaptation, the whole thing being to manage to dose the whole to obtain a harmonious image. Thus, various important parameters must be taken into account to avoid obtaining an image that is too overexposed or underexposed.
Exposure time:
The technique is mainly based on the exposure time which must be slow enough to let the light enter the lens. It is generally advisable to use an exposure time greater than 30 seconds. In this case, the "Bulb" mode - which you will find mainly in SLRs - is essential. You will be able to determine yourself the time required for your scene.
ISO Sensitivity:
The slower your exposure time, the more light that enters your lens. It is therefore reasonable to limit the sensitivity of your sensor by using a low ISO sensitivity —50,100,200 ISO—, in which case your light traces risk being completely overexposed.
Opening :
Who says exposure time and ISO sensitivity, says aperture since the three parameters interact together. Proportionally to the very long exposure time, it is therefore essential to close your diaphragm. We recommend starting at f/8 but it all depends on your subject. Not only will it – like the low sensitivity of your sensor – avoid burning your images but will also allow you to obtain a much wider depth of field, in case you want to highlight several shots on a single image.
Choice of scene.
Finally, and to ensure that the previous settings work together, make sure to choose an initial scene with dark ambient light. Complete black is preferable if you only want to see the light traces of your sources. If you want to highlight a landscape or a subject, total darkness is not mandatory, but you will have to adjust your exposure time, your ISO sensitivity and your aperture according to your scene in order to bring out only what seems to you. useful.
Material:
As we explained previously, Light Painting is a technique that remains relatively accessible to everyone. Nevertheless, in view of the different settings parameters, a Reflex or Hybrid camera will lend itself more easily to the exercise since it will be possible to make your settings manually. If not, an Aperture Priority mode will do just fine. The tripod is an important element in view of your long exposure time. It will avoid camera shake due to an unstable camera. Finally, light sources are essential, since without them, Light Painting does not exist. Finally, everything that illuminates is usable. The intensity of your sources will also determine the exposure time required. The interest being to use torches of different types, to achieve more or less thick lines, of different colors by using gelatin or colored bulbs for example. All fantasies are finally possible.
This original technique requires patience, but it's very creative and meticulous for anyone who wants to try it. The more of you there are, the easier it will be for you to stage your scenery and subject, and the more light sources you can add while reducing your exposure time. Now it's up to you to dazzle us.


