


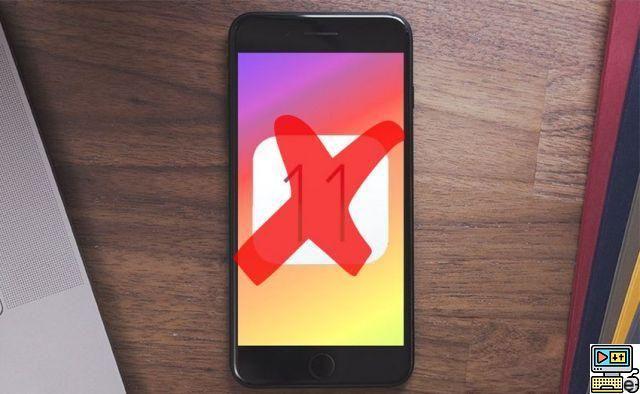
Need a downgrade? If you are on iOS 11 and want to switch back to iOS 10, it is possible! This requires downloading the .ipsw image of the latest signed version of iOS 10, then force restoring your iPhone or iPad using DFU mode and a key combination in iTunes. Do not panic, we explain everything in this tutorial!
iOS 11 is finally here since Tuesday September 19, although it had already been there for a few months for those who tested it in beta. The new version of the iPhone, iPad and iPod operating system brings many new features. Including design changes, a more powerful Siri, the arrival of ARKit and a redesigned Control Center. But with iOS 11, there are also some problems.
For example, old 32-bit applications are no longer compatible. Especially since the update may slightly slow down older iPhones and iPads on the list of supported devices, such as the iPhone 5S. In short, there are reasons that can push you downgrade for revert to iOS 10, and precisely, we are here to help you!
iOS 11: how to downgrade to return to iOS 10?
If you are reading this tutorial, you have probably already tried to downgrade to iOS 10 without success. It's that there is a kind of safety catch that makes this manipulation impossible when you don't know neither the DFU mode nor the magic key combination that allows you to force the restoration of an ipsw image of your choice through iTunes. Handling is not possible directly from an iPhone, iPad or iPod.
Before you begin, you will need:
- An iPhone, iPad or iPod running iOS 11
- A Lightning to USB cable
- A computer with iTunes
- The .ipsw image of the latest version of iOS 10 for your iPhone, iPad or iPod
Note: You can find this image on several sites, such as ipsw.me. It is imperative to choose a version adapted to your model and which is still signed by Apple, otherwise the image will not be installed or will transform your device into a brick!
We strongly advise you before going any further to make a full backup of your iPhone, iPad or iPod.
1. Turn off Find My iPhone/iPad/iPod and sign out of iCloud
We often forget this step, and it then causes errors, because Find My iPhone and iCloud are there to secure your smartphone / tablet, and prevent anyone from taking it over.
- Go to Settings > Your Name > iCloud > Find My iPhone
- Deactivate Localiser mon iPhone
- Go back to the second screen of the illustration
- Scroll down the page
- touch Log out
2. Put your iPhone, iPad or iPod into DFU mode
Some will say that this step is not always necessary, but it is the one that works in all cases. DFU mode is a special state of the device, which helps to limit the possibility that the operation will encounter an error. Using this technique will completely erase the contents of your device. That's why we repeat it It is important to back up all data on your iPhone, iPad or iPod properly.
iPhone 6S and earlier, iPad and iPod
- Plug your iPhone into your computer and make sure iTunes is closed
- Turn off the device completely
- Hold On/standby and the button Home pressed for 10 seconds
- Hold the button Home pressed, and release the button On/standby
- Release the button Home when iTunes tells you that your device has been detected in recovery mode
- If you are in DFU mode, the screen of your iDevice should remain black
iPhone 7 and later
- Plug your iPhone into your computer and make sure iTunes is closed
- Turn off the device completely
- Hold On/standby pressed for 3 seconds
- While holding the button On/standby pressed, press the button Low volume
- Hold both buttons for 10 seconds
- If you see the Apple logo appear, you have pressed for too long you are in DFU mode when the screen of your iDevice remains black
3. Restore your iPhone, iPad or iPod from iTunes
There is a trick here that you should know: if you press the restore or update buttons while pressing the Shift / Shift key, then iTunes lets you choose the .ipsw image of your choice! This is what we will use to force downgrade to iOS 10.3.3
- Dance iTunes, if you are not already on the right page, go to the configuration of your iPhone
- Click on Restore iPhone while holding the key Shift / Maj depressed
- Choose the .ipsw file you downloaded
- Start restore
The rest of the process is automated. Your iPhone will be restored to the latest signed version of iOS 10 (10.3.3 as of September 20, 2017), and you will then need to restore your backup to find your settings and applications.
The editorial advises you:
- What to do if your iPhone is not recognized on Mac or PC?
- iPhone: how to replace Siri with Google Assistant on iOS?
- How to change default music app on iPhone or iPad?


