Search
Visited
Popular
Recent
Discussed
Valued
Shared
Free Resources
Best tricks for Whatsapp
Bosch launches a new coffee maker, the Tassimo Happy
Thanks to this Chrome extension, learn a new language while watching Netflix
Lab – What are laundry balls really worth without detergent?
How to save WhatsApp audios
Previous
Following
Sony explains why the online will be paying for the PS4
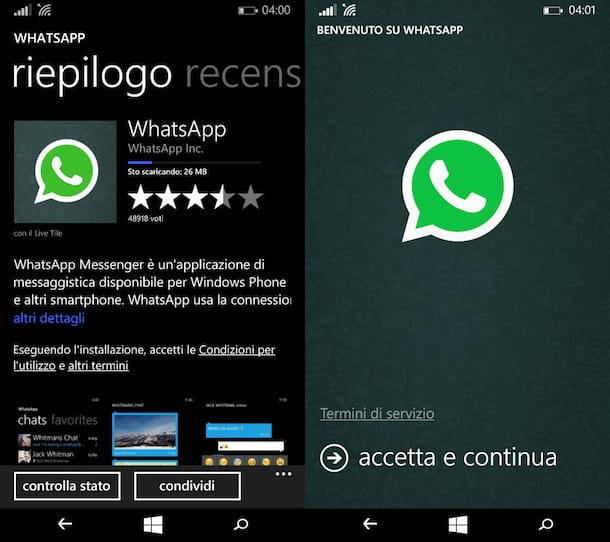
How to download WhatsApp on Nokia
Divx Codec Pack to watch MKV and AVI videos on Windows PC
How to disable WhatsApp backup
The most popular
How to switch from Yahoo to Gmail?
How to spy on another phone's WhatsApp for free
How to remove WhatsApp reporting
How to see the last access on WhatsApp even if hidden
Snapchat will soon offer parental controls to protect minors
Data Recovery in the Clean Room. What is the clean room for?
Justice: Orange saves its exclusives
Samsung Galaxy tab S2 (9,7'') test, the high-end successor in 4:3
TV, PC, console: better connect your audio installation
Windows 7: an update despite the end of support
Nvidia: the first DirectX 12 Ultimate drivers are available and can boost your PC
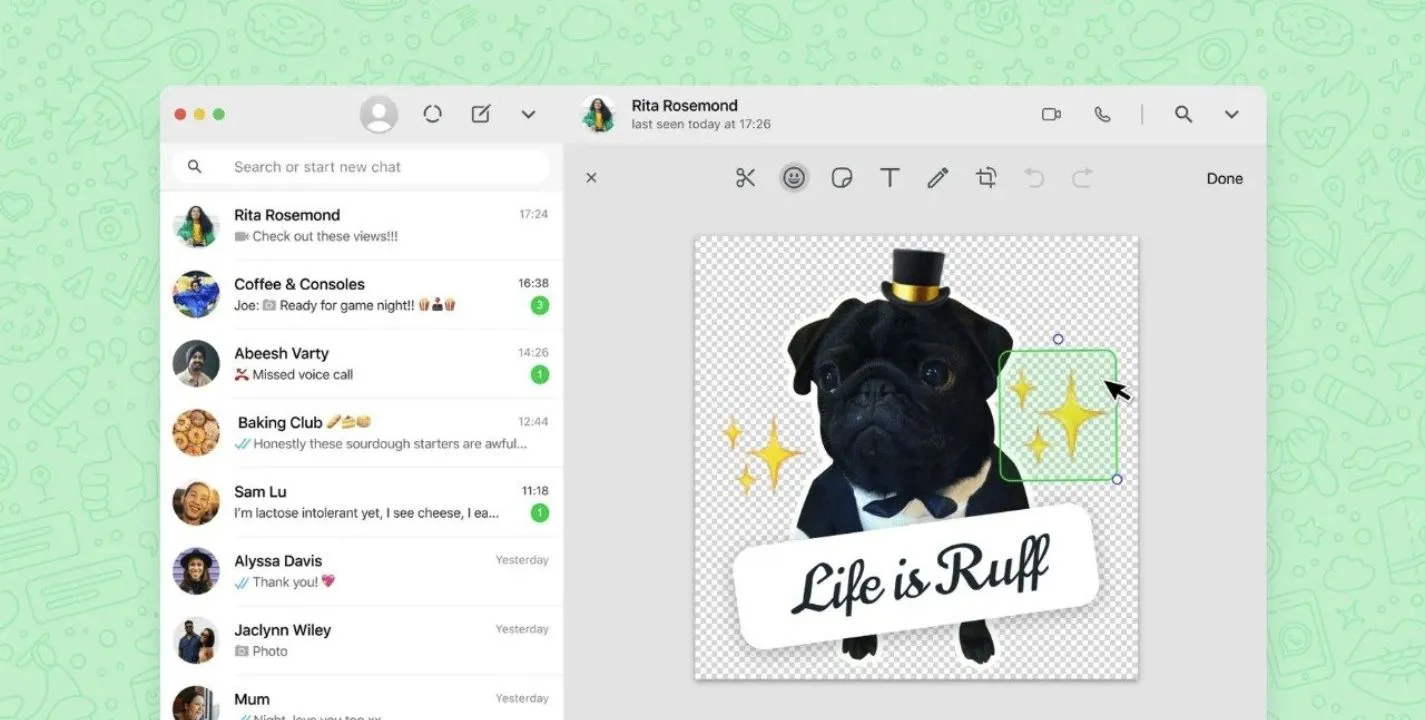
Create stickers from any chat in WhatsApp Web
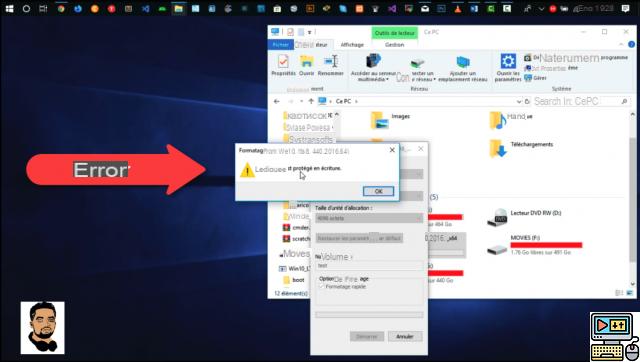
How to Fix Write Protected USB Drive
Trends
Create websites for mobiles and mobile phones, the mobile version of a website or blog
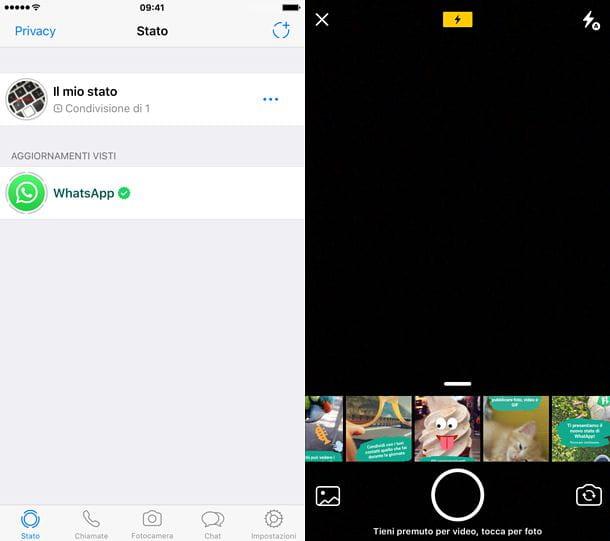
How WhatsApp Status Works
How to search for a photo on Google from your mobile
How to log in and out of Outlook
App to find work
How to search for music
Windows 10: keyboard shortcuts to know
How to search for a person on Tinder
Data Recovery from Server with AVID System - Avid Media Composer
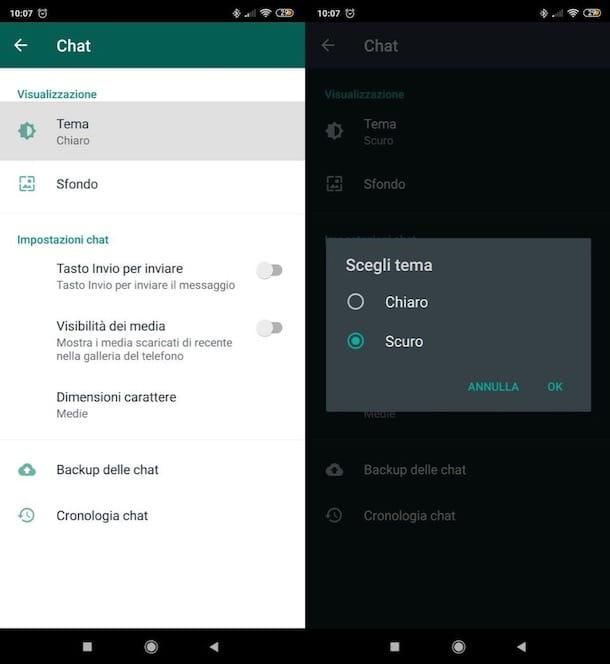
How to change color in WhatsApp


 Search
Search
Search